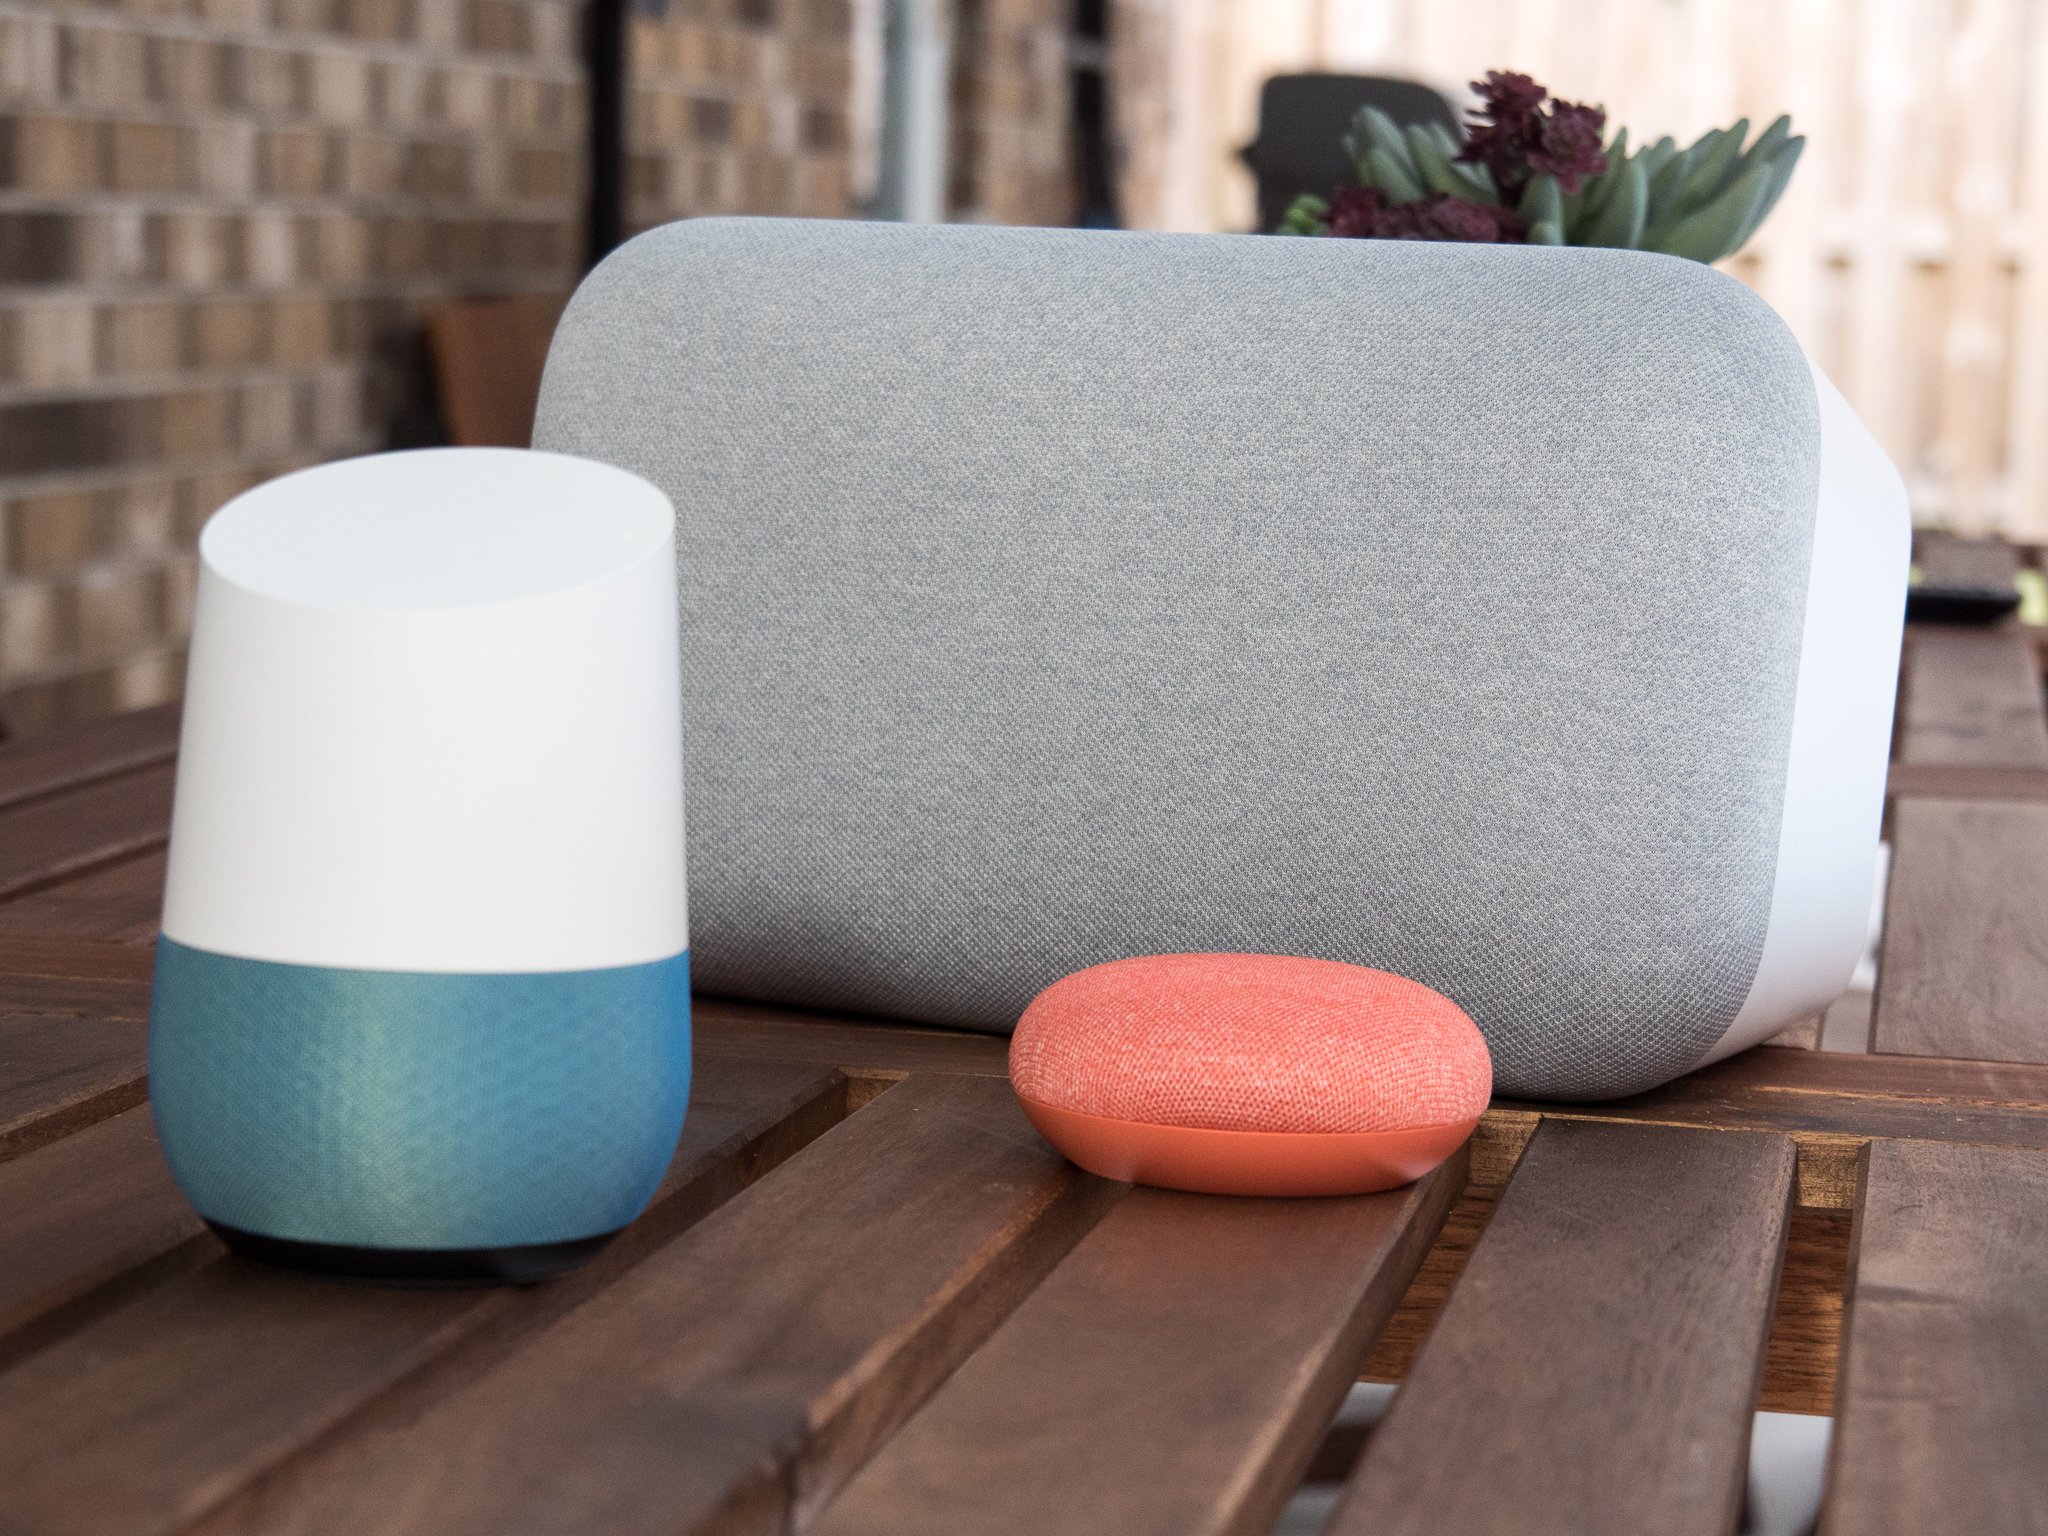
Whether your Google Assistant speaker is a Google Home or third-party, setup is the same.
Once upon a time, the only way to get Google Assistant into your home was with a Google Home line has grown, but now, there are dozens of speakers with Google Assistant built in! From the cute, little Google Home Mini to the roof-raising Sony XB501G, setting up any Google Assistant speaker uses the same, simple app and the same, simple process.
How to set up a Google Home or other Google Assistant speaker
- Plug the power cord into the base of your Google Home.
-
Plug the power adapter into an outlet. The unit will automatically boot up, introducing itself and directing you to the Google Home app to finish setup.


- Open the Google Home app.
- Tap Set up on the 1 device found card in the Discover tab.
-
Tap Yes to set up the device.


- Once connected, Google will play a test sound to ensure it is connected to the right unit. If you hear the tone, tap Yes.
- Google can use data from Google Home speakers to help improve performance and fix problems in the software but it will only collect the data if you opt-in to sharing your stats and crash reports. Tap Yes, I'm in to share the data or No thanks if you don't want to participate.
- Tap the room your speaker is going to live in.
-
Tap Next.


- Name your Google Home. It will automatically take a name based off the room it is in, but you can give it any name you want.
- Tap Next.
- Tap the Wi-Fi network you want connect your speaker to
- Tap Next.
-
With Wi-Fi set up, an introduction page for Google Assistant appears. Tap Next to proceed with Google Assistant setup.


- Voice Match helps Google distinguish your voice from everyone else in your life. To set it up, tap I agree.
- Speak the four prompts that Google Assistant prompts you with to supply a voice sample. If you already have Voice Match set up from other speakers or phones, Google may add your existing voice print to the device.
-
With Voice Match enabled, Google Assistant asks if you want to turn on personal results so that it can give you calendar events, reminders, and other personal data from your account. Tap I agree to enable this or No thanksto leave personal results turned off.


- Enter your address. This will be used for weather, traffic, and other responses.
- Tap Confirm address.
- You can link music accounts to Google Assistant to have it play Music for you. Tap the plus icon next to a service to log in and connect the account.
- Tap Next once you are done connecting music subscriptions.
- Tap your default music service.
-
Tap Next.


- You can link video accounts to Google Assistant to have it play TV and movies for you. Tap the plus icon next to a service to log in and connect the account.
- Tap Next once you are done adding video accounts.
- Verify your information and settings so far. If you want to designate a TV for casting videos to, tap Choose a TV.
- Tap the Chromecast or Android TV you want as your speaker's default TV.
-
Tap Save.


- Tap Continue.
- Your setup is almost complete. Tap Continue to proceed to a demo.
-
Scroll down through the sample commands for your Google Home and tap Finish setup.


Now that your Google Assistant speaker is set up, it's time to actually use it — but on what? Will you cast your music, or let Google take you on an audio adventure? Will you use it to whip up something yummy in the kitchen, or use it to just order in for the night? Create some custom Google Assistant Routines in order to make turning down for the night or getting up in the morning a breeze! There's a million uses for Google Assistant speakers, so tell us what yours is.
Updated December 2018: We've updated this article to reflect the diversity of Google Assistant speakers on the market today and changes in the Google Home app.
from Android Central - Android Forums, News, Reviews, Help and Android Wallpapers http://bit.ly/2EOseKl
via IFTTT
No comments:
Post a Comment